Practical 7 - Elements of solution
This page provides elements of solution for the (bonus) Skeletal Animation / Skinning practical.
Exercise 1: Skinning shader
Computing the skinning matrix in the vertex shader code is quite straightforward, if the role of each parameter is well understood (re-read the specification if needed).
mat4 skin_matrix = mat4(0);
for (int b=0; b < MAX_VERTEX_BONES; b++)
    skin_matrix +=  bone_weights[b] * bone_matrix[int(bone_ids[b])];
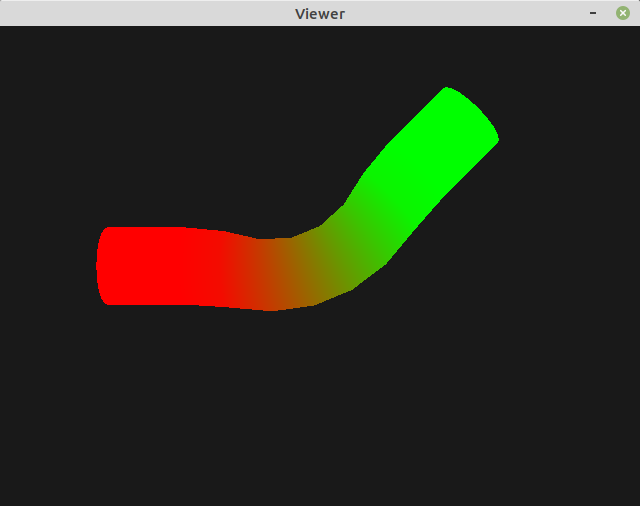
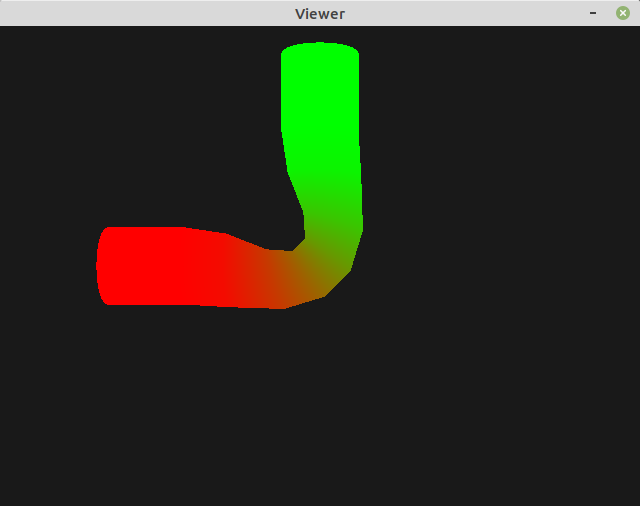
Results for the first cylinder animation should be:
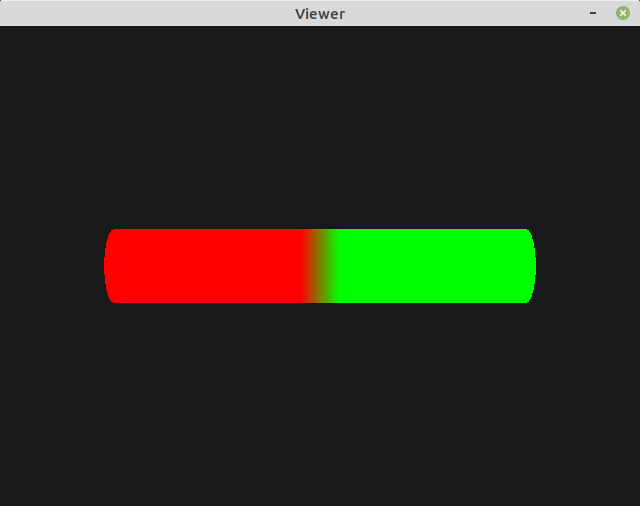
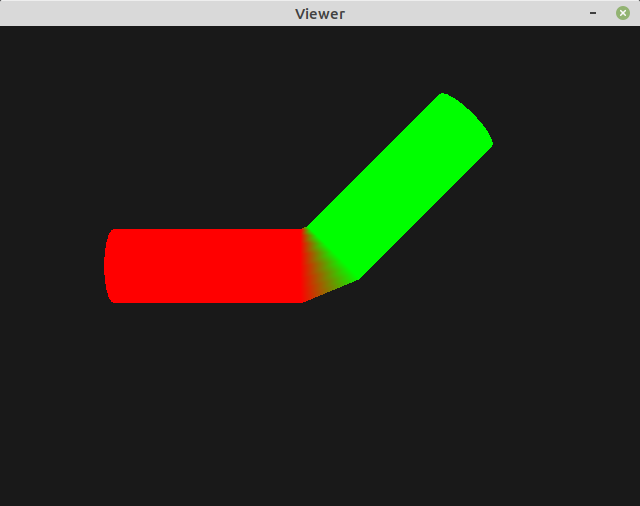
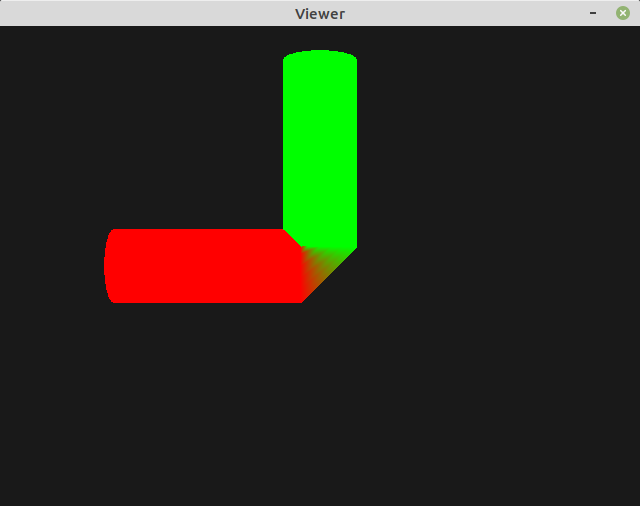
Note
Just completing this vertex shader is enough to load an animation file.
For example, just run: ./viewer.py dino/Dinosaurus_roar.dae
(only the sound is missing…).
Exercise 2: Smoothing
To modulate the contributions of the two bones, the bone_weights values
must be adapted. Tune parameters to get a realistic simulation is clearly
difficult.
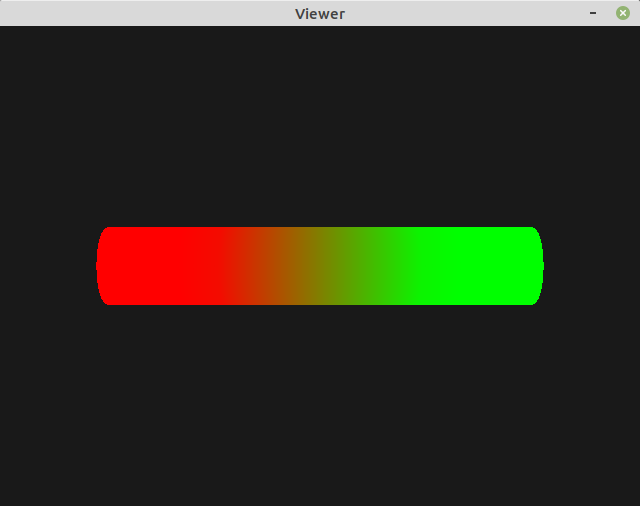
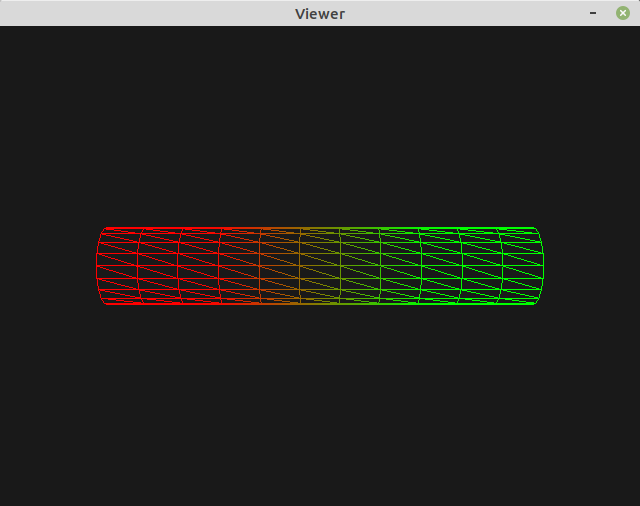
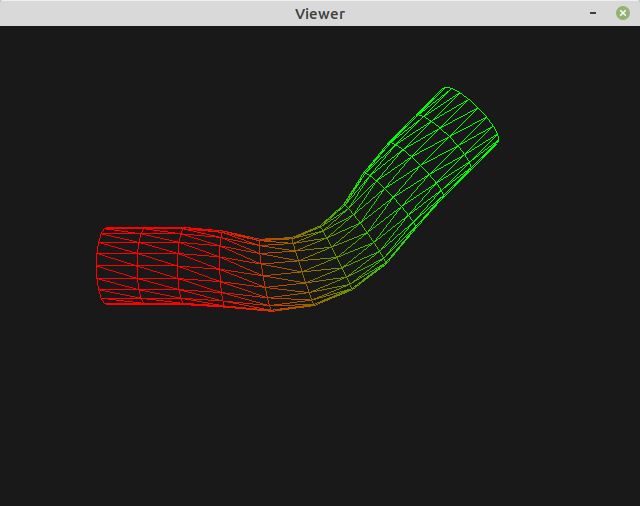
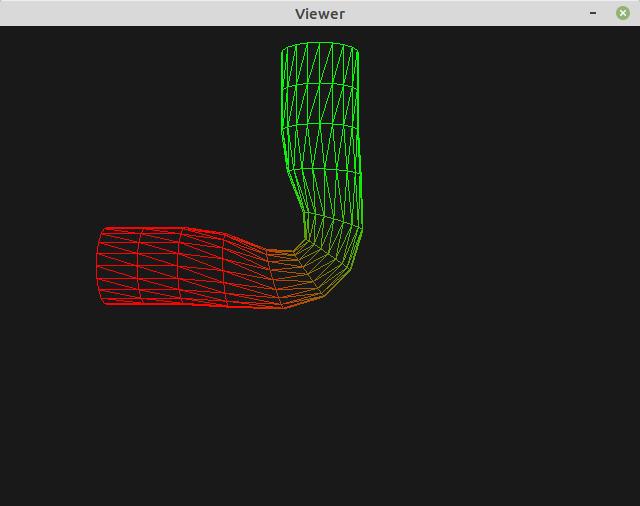
Here is an example with the following law (linear variation around the joint):
weight = np.clip(1-(2*x_c/sections-1/2), 0, 1)
bone_weights.append((weight, 1 - weight, 0, 0))
Exercise 3: Adding a third bone
Here we propose to divide the cylinder in three parts:
#. the base consists in the left-hand sections, from the left extremity to the middle, just like in the previous exercise. #. the forearm is the right-hand sections except the last one. #. the hand is the last section, at the right extremity.
We will smooth things with a small joint at the vicinity between the base and the forearm.
Nodes are organized in a hierarchy: base is the root node, forearm is a child of the base, and hand is a child of the forearm node.
To do in your code:
create a
KeyframeControlNodefor the hand.define the keyframes to animate each component of the transformation.
add the hand to the nodes hierarchy and to the
bone_nodeslist.in the loop, add a third non-null index:
bone_id.append((0, 1, 2, 0))define the weights for each bone. The first three weights can be different than 0, and make sure the weights sum is equal to 1.
Example 1: naive rotation
In this first example, the base is fixed, the forearm is rotated by -25 degrees, and the hand is rotated by +45 degrees. If you simply put these rotations in your keyframes you will obtain:
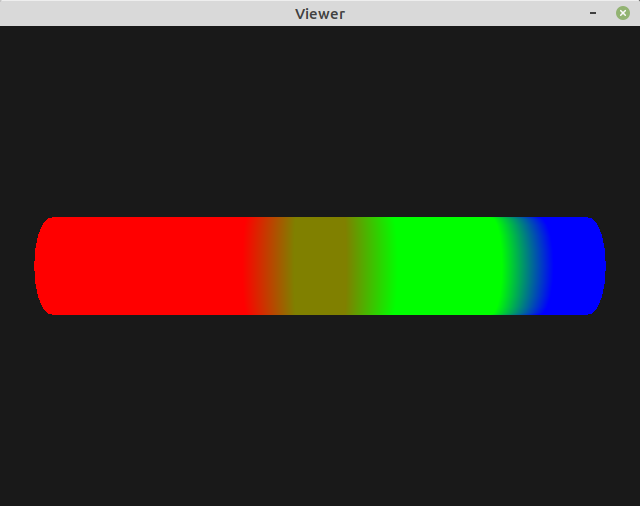
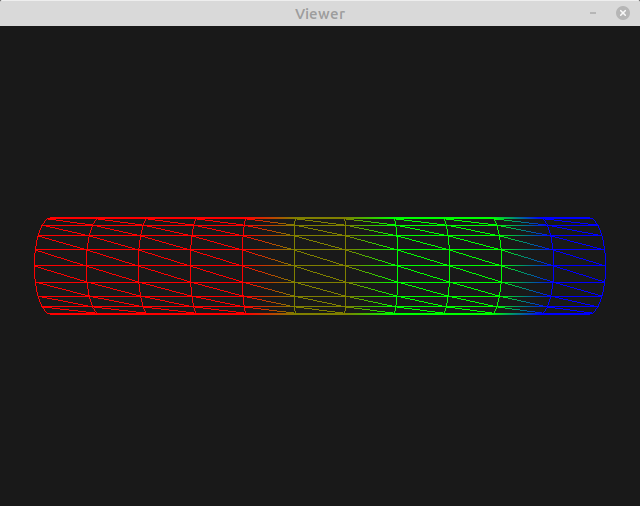
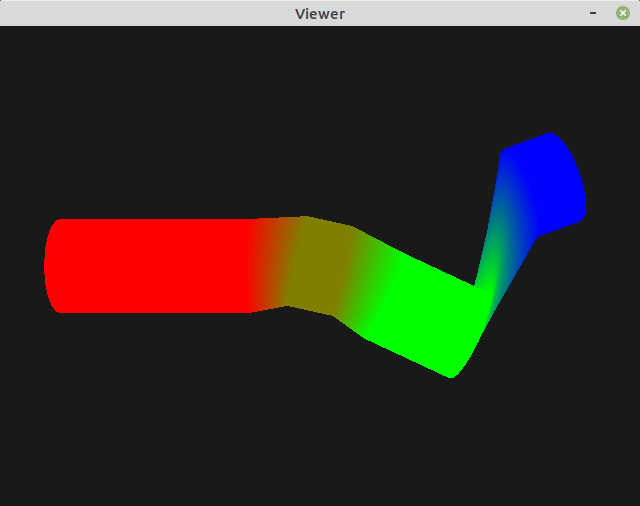
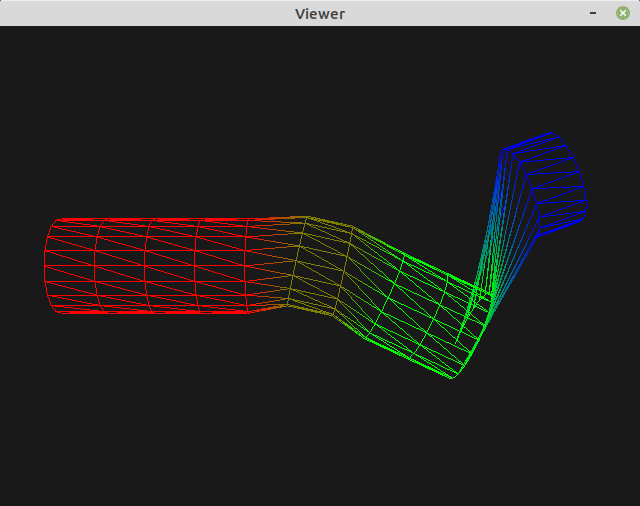
What is the problem? Well, all rotations are centered at the origin!
This is not a problem for the base / forearm joint because this joint actually lies at the origin. But this is clearly wrong for the hand joint.
Example 2: rotation center
The solution is similar to what we did in pratical 3 “hierarchichal modeling”: each part must be defined in its own referential where rotations are easily expressed around the origin. Then, objects must be correctly positioned with respect to their father referential.
First let’s redefine the x_c coordinates for the last section of the
cylinder, to put them on 0 and 1:
if x_c < sections-1:
    vertices.append((x_c - sections/2, y_c, z_c))
else:
    # hand: last two x coords become 0, 1
    # (later translated by the KeyFrameControlNode)
    vertices.append((x_c - sections + 1, y_c, z_c))
The hand node must then be positioned with correct keyframes:
hand = KeyFrameControlNode(
    {0: (sections/2 - 1, 0, 0)},    # translation to the forearm extremity
    {0: quaternion(),
     2: quaternion_from_euler(45),  # rotation around the origin
     4: quaternion()},
    {0: 1})                         # no scaling here
Remember that transformations component are applied in the \(TRS\) order. The rotation is first applied around the origin and then the hand object is translated at the extremity of the forearm.
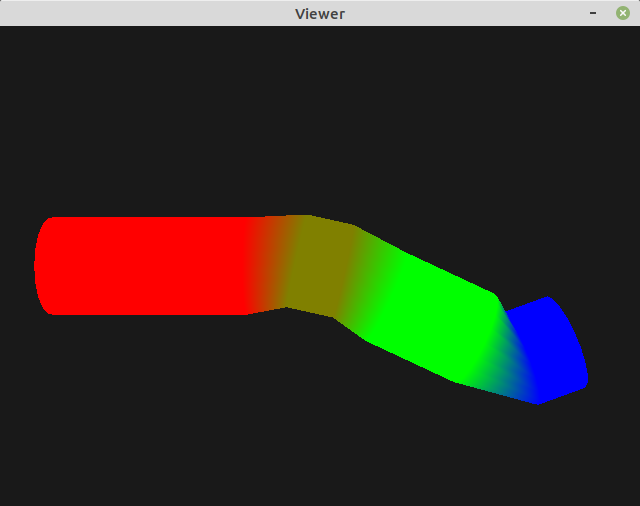
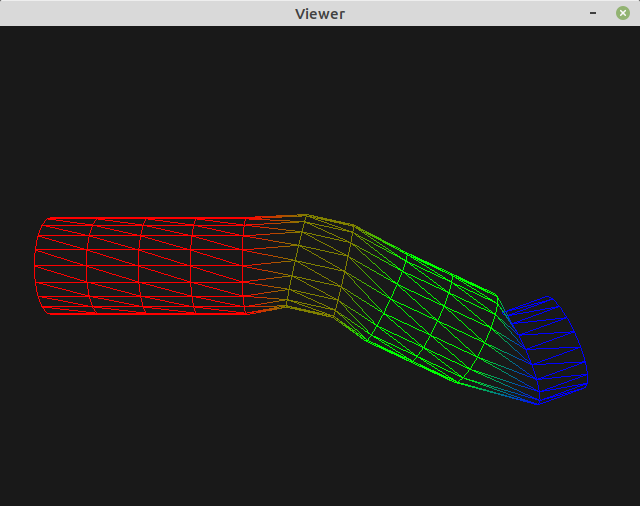
The result is as expected:
Note
Now it’s you turn!
Move the position of first joint from the origin. Animate all parts including the base. And try to set weights so that some vertices depend from all three bones.