Practical 5 - Texturing
Objectives of this practical:
discover texture mapping techniques and corresponding OpenGL/GLSL syntax
learn to use texture coordinates
change some texture properties such as filtering
load a textured mesh from files
Prerequisites:
it is best but not mandatory to have completed Practical 2 - Meshes and modeling
For this practical, we provide a new set of files
viewer.py
texture.py
texture.vert
texture.frag
to be used with the
core.py
transform.py
given in the previous practicals.
Texture code review
The provided viewer.py contains a TexturedPlane class that is a
plane (big square) Mesh. This class takes a path to a texture as an
argument, which will be used as the texture of the plane. The
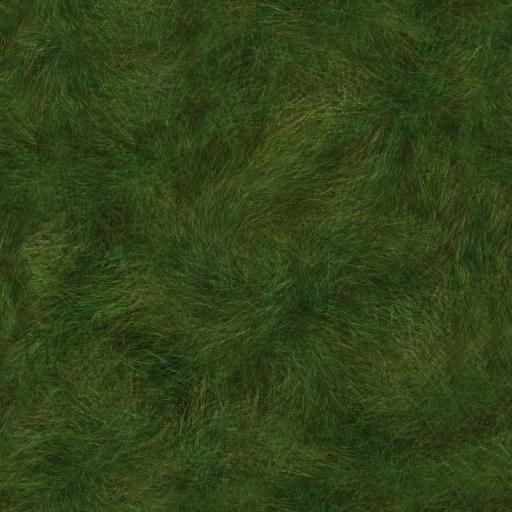
grass.png image file is used as an example.
The main function creates an instance of this plane using grass.png
and adds it to the viewer.
Take a moment to review the code and understand how it works. The
Texture class we provide in texture.py initializes and loads
an image as 2D texture to the GPU:
glGenTextures()creates an OpenGL id used to reference the GPU texture in subsequent callsthe GPU texture needs to be bound with a
glBindTexture()call when it needs to be used or referencedglTexParameteri()is used to pass texture parameters that control how a texture wraps when addressed outside the standard range of \([0, 1]^2\) and to control texel interpolationglGenerateMipmap()generates a Gaussian image pyramid which is used for intelligent sampling at the appropriate scale to avoid aliasing
Using the texture is then done as follows:
In the shader on the GPU, the texture access point is called a GLSL sampler. It is declared with the
uniform sampler2D diffuse_map;syntax.On the CPU / Python side, we need to specify that we associate that sampler to a
Textureinstance we loaded. You can do that with a decorator classTexturedwe provide intexture.pywith the following syntax, by passing the association to its constructor. Herediffuse_mapshould specifically match the name of the GLSL sampler to be associated:mesh = Mesh(shader, attributes=..., uniforms=..., index=...) texture = Texture(file) my_object = Textured(mesh, diffuse_map=texture)
You can also create a drawable objet which derives from a
Texturedobject if you need to change its state with a keyboard event for example, as we did for theTexturedPlaneclass:class TexturedPlane(Textured): def __init__(...) mesh = Mesh(shader, attributes=..., uniforms=..., index=...) texture = Texture(file, ...) super().__init__(mesh, diffuse_map=texture)
The shader can then access the texture and retrieve an RGBA color from it (which is automatically filtered/interpolated according to the parameters passed at initialization) using a
texturecall to the sampler:texture(my_sampler_name, frag_tex_coord). A set of texture coordinates is passed in \([0, 1]^2\) (vec2type) to address which texel is retrieved.
Exercise 1: Wrapping and filtering
To understand wrapping and filtering parameters, we have put some interactive elements in the provided code, which change wrapping and filtering modes upon detecting keypresses of F6 and F7.
We intentionally provide a large plane spanning \([-100, 100]^2\),
using x and y coordinates in the shader as interpolated texture
coordinates, so you can observe what goes on when texture coordinates are out
of the normal \([0, 1]^2\) range.
It is recommended to watch the plane from a grazing angle to observe texture maps from afar and with foreshortening, or alternately zoom in on the texture, to best observe the filtering changes.
Exercise 2: Load models with explicit texture coordinates
In the provided code, texture coordinates are computed from the x and y
coordinates for the purpose of demonstration; in the general case it is of
course more practical and flexible to pass explicit texture coordinates as
standalone vertex attributes, for full mapping control.
texture.py contains a Textured class that wraps a Mesh
that adds the code to load the texture to the draw method. The load function
from core.py automatically wraps meshes with the Textured
wrapper if the loaded mesh has texture information.
The load() function will also load texture coordinates from the mesh files and
pass them as the tex_coord vertex attribute.
You will need to slightly modify the shaders to receive this texture
coordinate attribute and use it instead of the position. Test your mesh loading
with this simple textured cube object.
Take a look at the object and .mtl files to understand how textures are
referenced and texture coordinates are stored.
When operational, try the more complex
bunny object.
Note
The provided loader can be passed an optional texture filename to
force mapping with a given texture file (tex_file parameter to the
load() function).
Exercise 3: Phong and Texture
Merge the Phong shaders from practical 4 with the texture shaders of this practical. Use the merged shaders to produce an illuminated and textured mesh.
Exercise 4: Multi-texturing
In your Python and shader code, modify your TexturedPlane code
such that you provide explicit texture coordinates tex_coord mapping the
plane to \([0, 1]^2\) regardless of its geometric size.
Then add the necessary instructions to add a second texture access in the
shader, read from two textures and mix both textures to produce the final
result.
For this purpose, note that the Textured class constructor
allows to specify more than one texture:
class TexturedPlane(Textured):
        def __init__(...)
            mesh = Mesh(shader, attributes=..., uniforms=..., index=...)
            texture1 = Texture(file1, ...)
            texture2 = Texture(file2, ...)
            super().__init__(mesh, diffuse_map=texture1, second_texture=texture2, ...)
You can use the following images to texture a ground plane with
grass and
flowers.
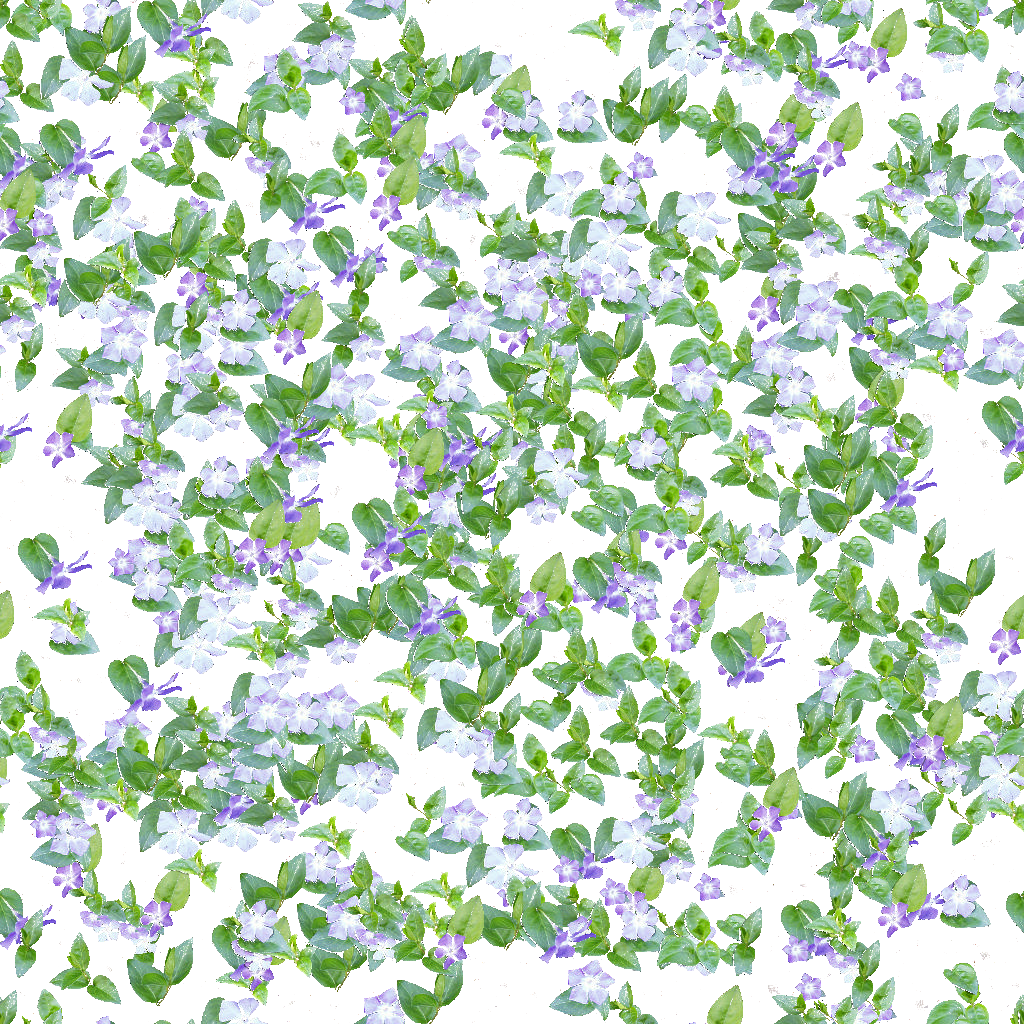
Exercise 5: Open project question
You have learned the basics of texturing in OpenGL. Texturing is the basis for many, many, many techniques as discussed during the lecture, such as multi-texturing, light mapping, normal mapping, cube mapping (for skyboxes or environment mapping…). Based on what you gathered during the lecture and your project inspiration, you can expand the code above toward any of these techniques to enhance your project.
Elements of solution
We provide a discussion about the exercises in Practical 5 - Elements of solution. Check your results against them.